.svg)
.svg)
.svg)
.svg)

March 28, 2013

Made possible with support from The
Support Of Ontario Creates

© 2022 ParentsCanada. All rights reserved.
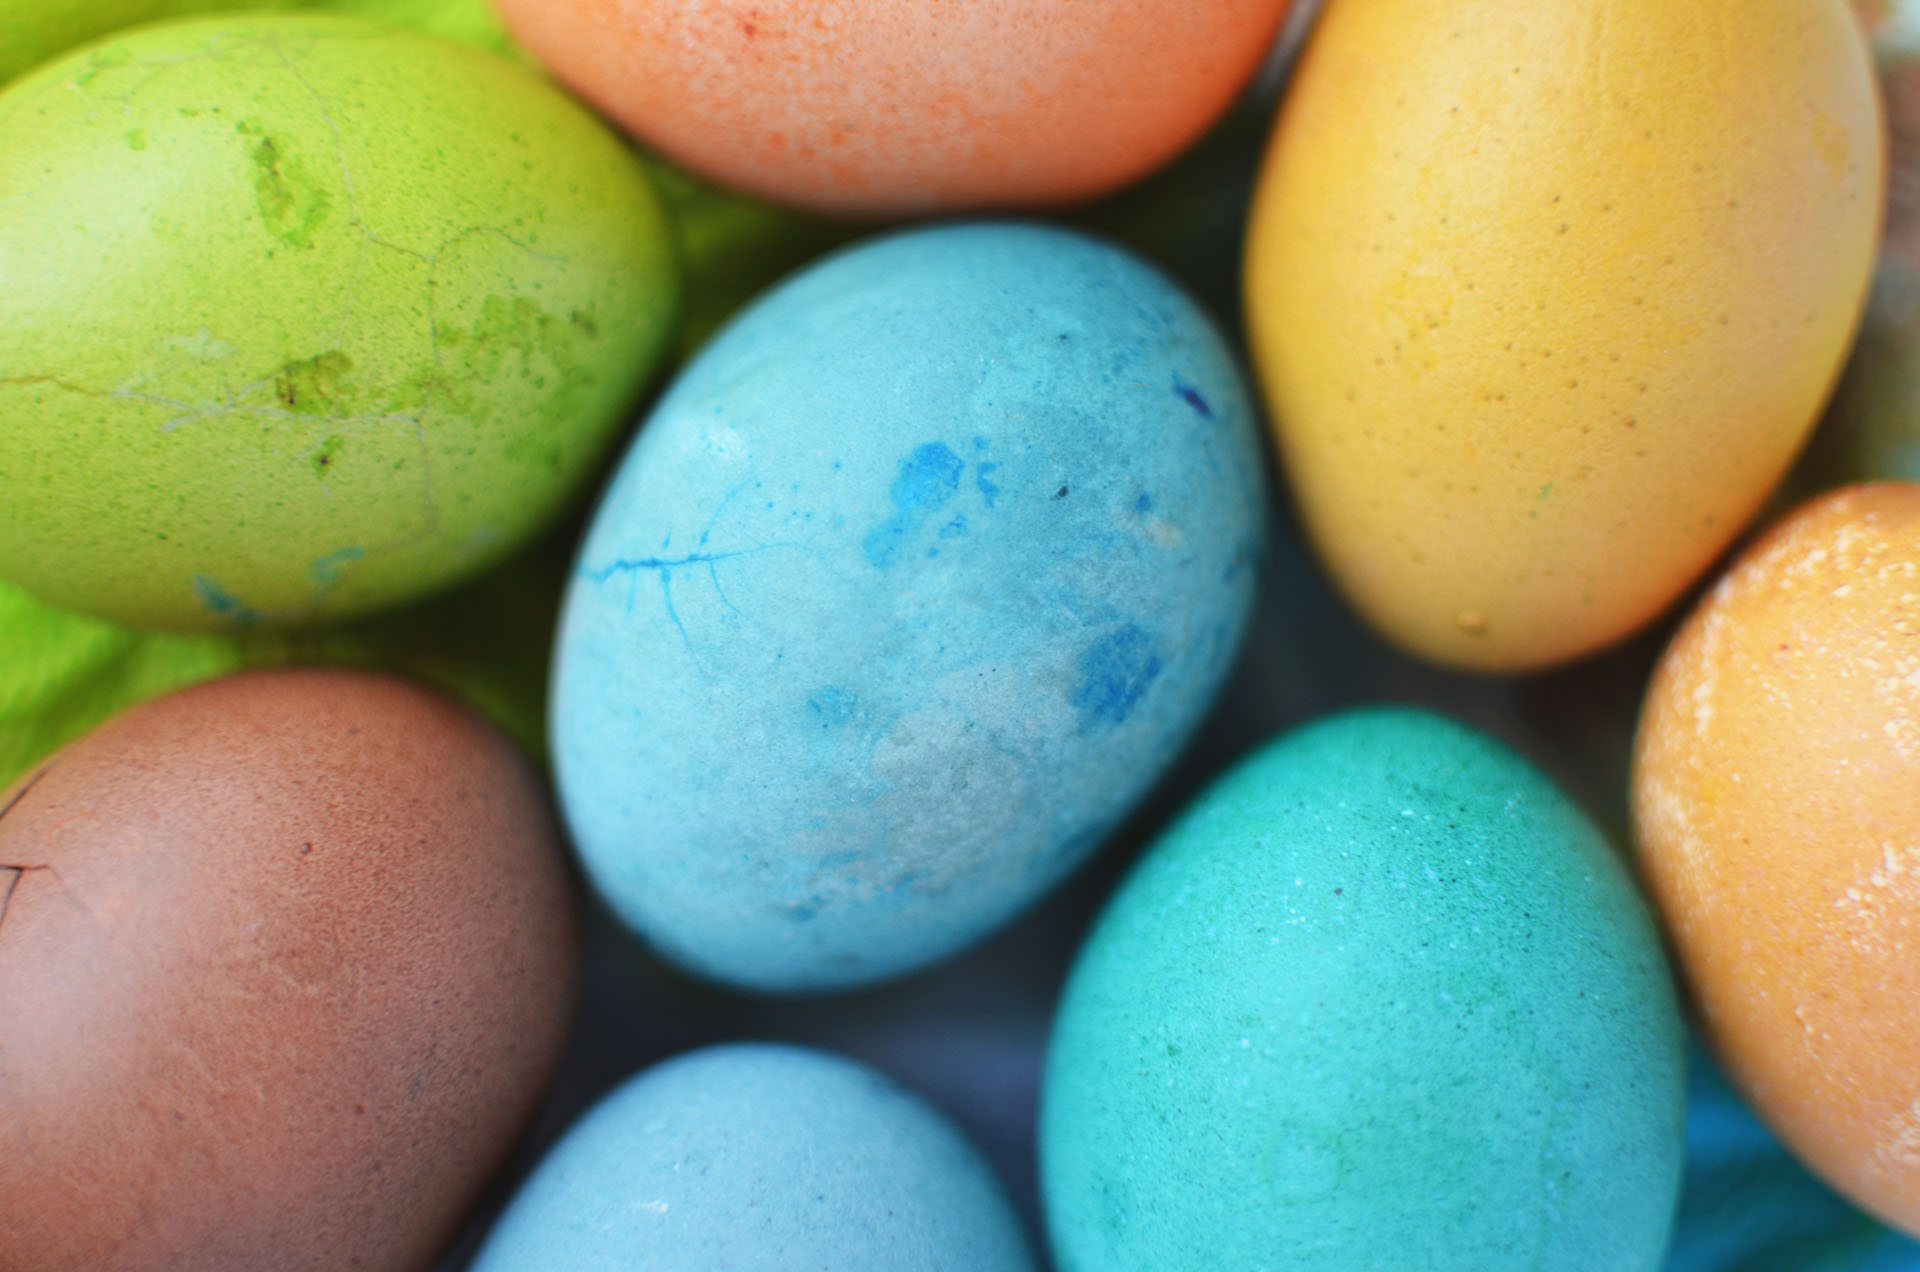
 Many parents look for natural methods to dye Easter eggs. Synthetic fake colours and dyes can be harmful and are avoidable. Mother Nature has been kind in giving us many items with rich vibrant colour that are just as effective and beautiful as the “fake stuff”.
This is a family activity for young and old. Kids of any age can participate and get creative! Parental guidance and assistance is a must.
Tip: Use eggs that are not fresh. The fresher the eggs, the harder they are to peel when it comes time to eating them. To start this activity, hard boil the amount of eggs you wish to colour. Allow the eggs to cool in the fridge before dyeing.
Tie-dye is not just for tshirts and hippies! Rubber bands are all you need to make tie-dyed eggs. Use a collection of different sized rubber bands. Wrap the rubber bands, one at a time, around the eggs. Make sure to leave some of the egg shell exposed so it can be dyed. Once the eggs are dyed to the color you like, remove them from the water and let them dry. Once dried completely, pull the rubber bands off to reveal your banded design. Peace out!

1. Wash hard-cooked (boiled) eggs in warm soapy water. Let eggs cool.
2. You need to use your own judgment about exactly how much of each dye ingredient to use. Except for spices, place a handful (or two or three handfuls) of a dye ingredient in a saucepan.
3. Add tap water to come at least one inch above the dye items.
4. Bring the water to a boil, then reduce the heat to low. Let simmer about 15 minutes or up to an hour until you like the colour. Remove the pan from the heat.
5. Pour mixture into a liquid measuring cup. Add 2 to 3 teaspoons of white vinegar for each cup of strained dye liquid. Pour the mixture into a bowl or jar that is deep enough to completely cover the eggs. Use a slotted spoon to lower the eggs into the hot liquid. Leave the eggs in the water until you like the color.
6. When eggs are the colour you like, lift the eggs out with the slotted spoon. Let them dry on a rack or drainer.
7. Be careful to handle the eggs gently and minimally as some of the colors can easily be rubbed off before the egg has dried.
8. For a glossy finish, rub the eggs with a touch of cooking oil to give them a soft sheen.
Blue | Canned Blueberries Red Cabbage Leaves (boiled) Purple Grape Juice |
Brown or Beige | Strong Coffee Instant Coffee Black Walnut Shells (boiled) Black Tea *don’t recommend this one for small kids best colour turnout is an overnight soak |
Brown Gold | Dill Seeds |
Brown Orange | Chili Powder |
Gold | Turmeric |
Green | Spinach Leaves (boiled) |
Greenish Yellow | Yellow Delicious Apple Peels (boiled) |
Grey | Purple or red grape juice or beet juice |
Lavender | Small Quantity of Purple Grape Juice Red Zinger Tea |
Orange | Yellow Onion Skins (boiled) Carrots Paprika |
Pink | Beets Cranberries or Juice Raspberries Red Grape Juice Juice from Pickled Beets |
Red | Pomegranate juice Canned Cherries (with syrup) Raspberries Cranberries Lots of Red Onions Skins (boiled) |
Violet or Purple | Hibiscus tea Small Quantity of Red Onions Skins (boiled) Red Wine |
Yellow | Orange or Lemon Peels (boiled) Carrot Tops (boiled) Chamomile Tea Celery Seed (boiled) Green tea Ground Cumin (boiled) Ground Turmeric (boiled) or Saffron |
We hope you have fun and no stress during this process! Mistakes happen, roll with it. Not-so-perfect eggs are the ones with unique personality and show creativity!
.svg)
.svg)
.svg)
.svg)
Website Powered by The Influence Agency ![]()


.svg)
.svg)

